
Last week, on the 31st of July, we headed down to Excelsior, a Rotomoulding company from Bury, who we’ve partnered with to build our latest e-Changer Plus Baby Changer! Working closely with Excelsior on the manufacturing of a product we’ve design and thought up in-house was always part of the plan for us, when we decided to create our own baby changer, earlier this year.
Myself and Kristin, our Marketing manager, headed east from our office in Skelmersdale in time to arrive at Excelsior’s premises in Bury for around 2PM. By this time, the deceptively spacious offices and manufacturing floor was in full swing and firing on all cylinders.
We met up with Martin Kitson, the Customer Sales Product Manager at Excelsior, who took us on a quick tour of the Excelsior premises, informing us along the way of the rotomoulding process, as we passed pallets laden with bags of raw material which would soon be in the shape of some drawers, a bin, street bollard or even a baby changers. He explained to us the basic process of rotomoulding as we wandered past huge machines, gently turning casts around in an oven.
The rotomoulding process
To witness the baby changer being made, something which we’d only ever seen in on paper or in early product mock ups, we shadowed a member of staff at Excelsior from start to finish:
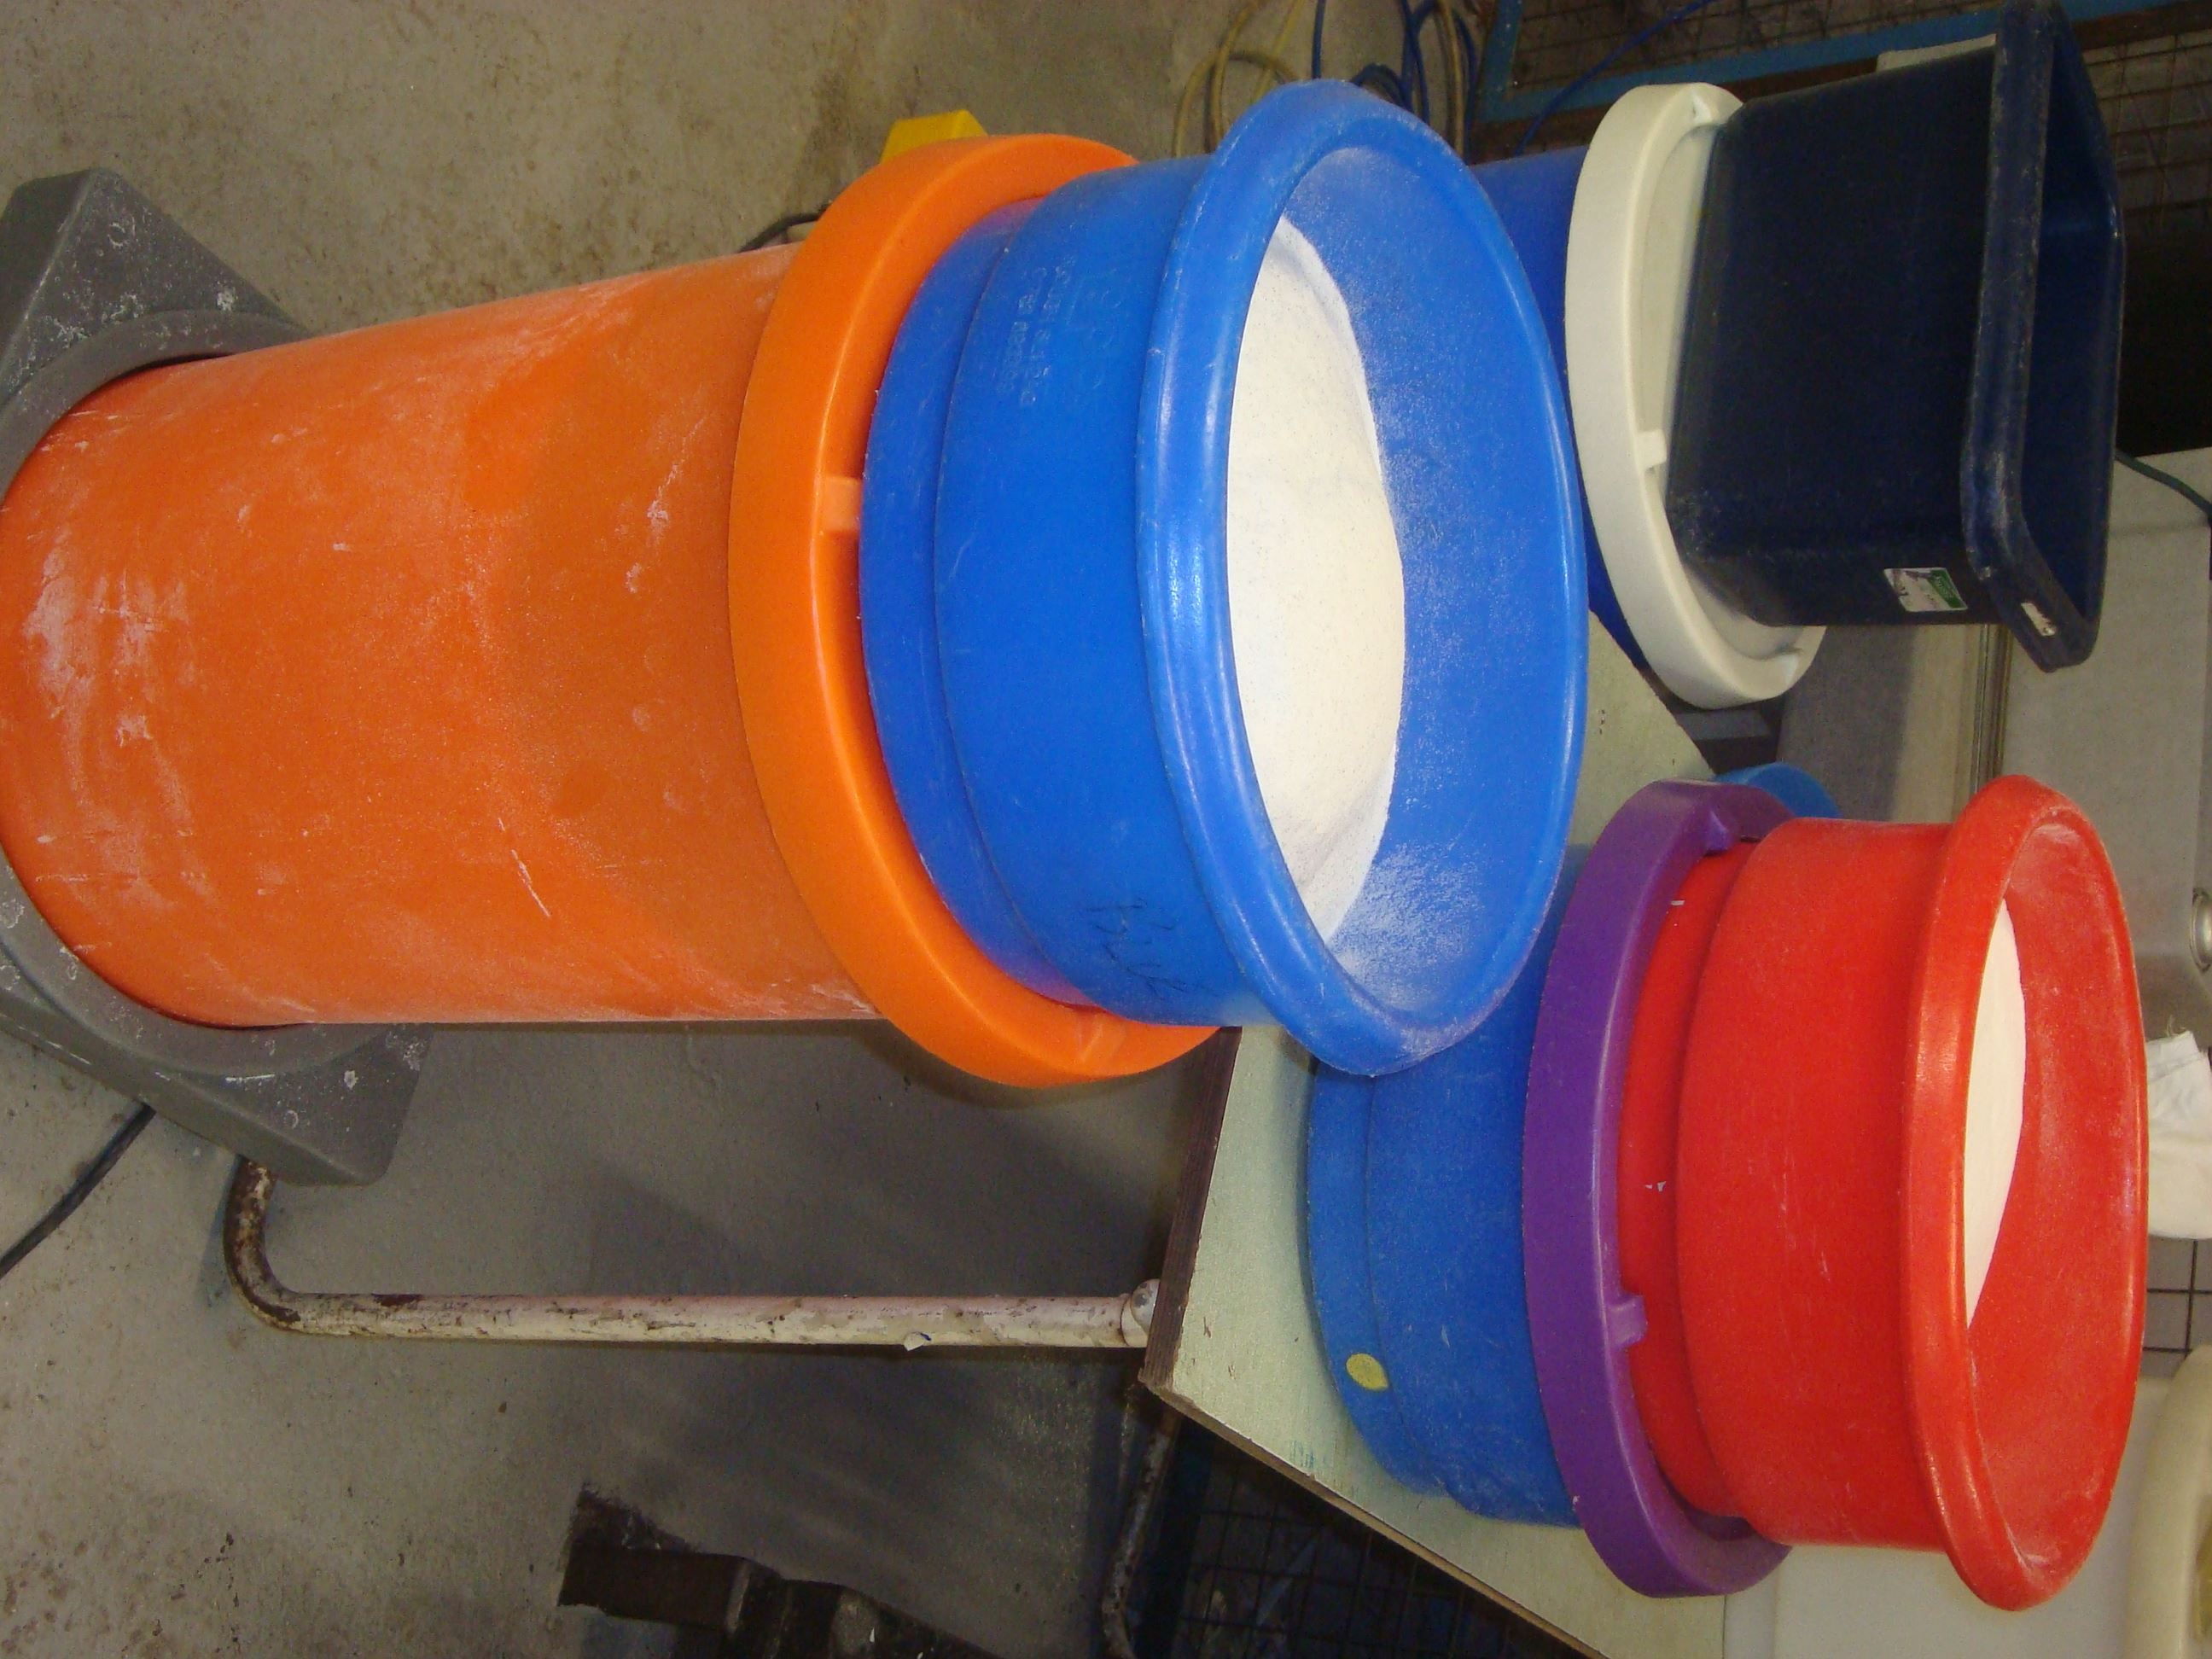
Firstly a hollow mould, in the shape of a baby changer, is filled with a pre-determined quantity and colour of polymer powder or resin, sealed and slid into a pre-heated oven (In this case, the oven was around 10x10x15 feet.)
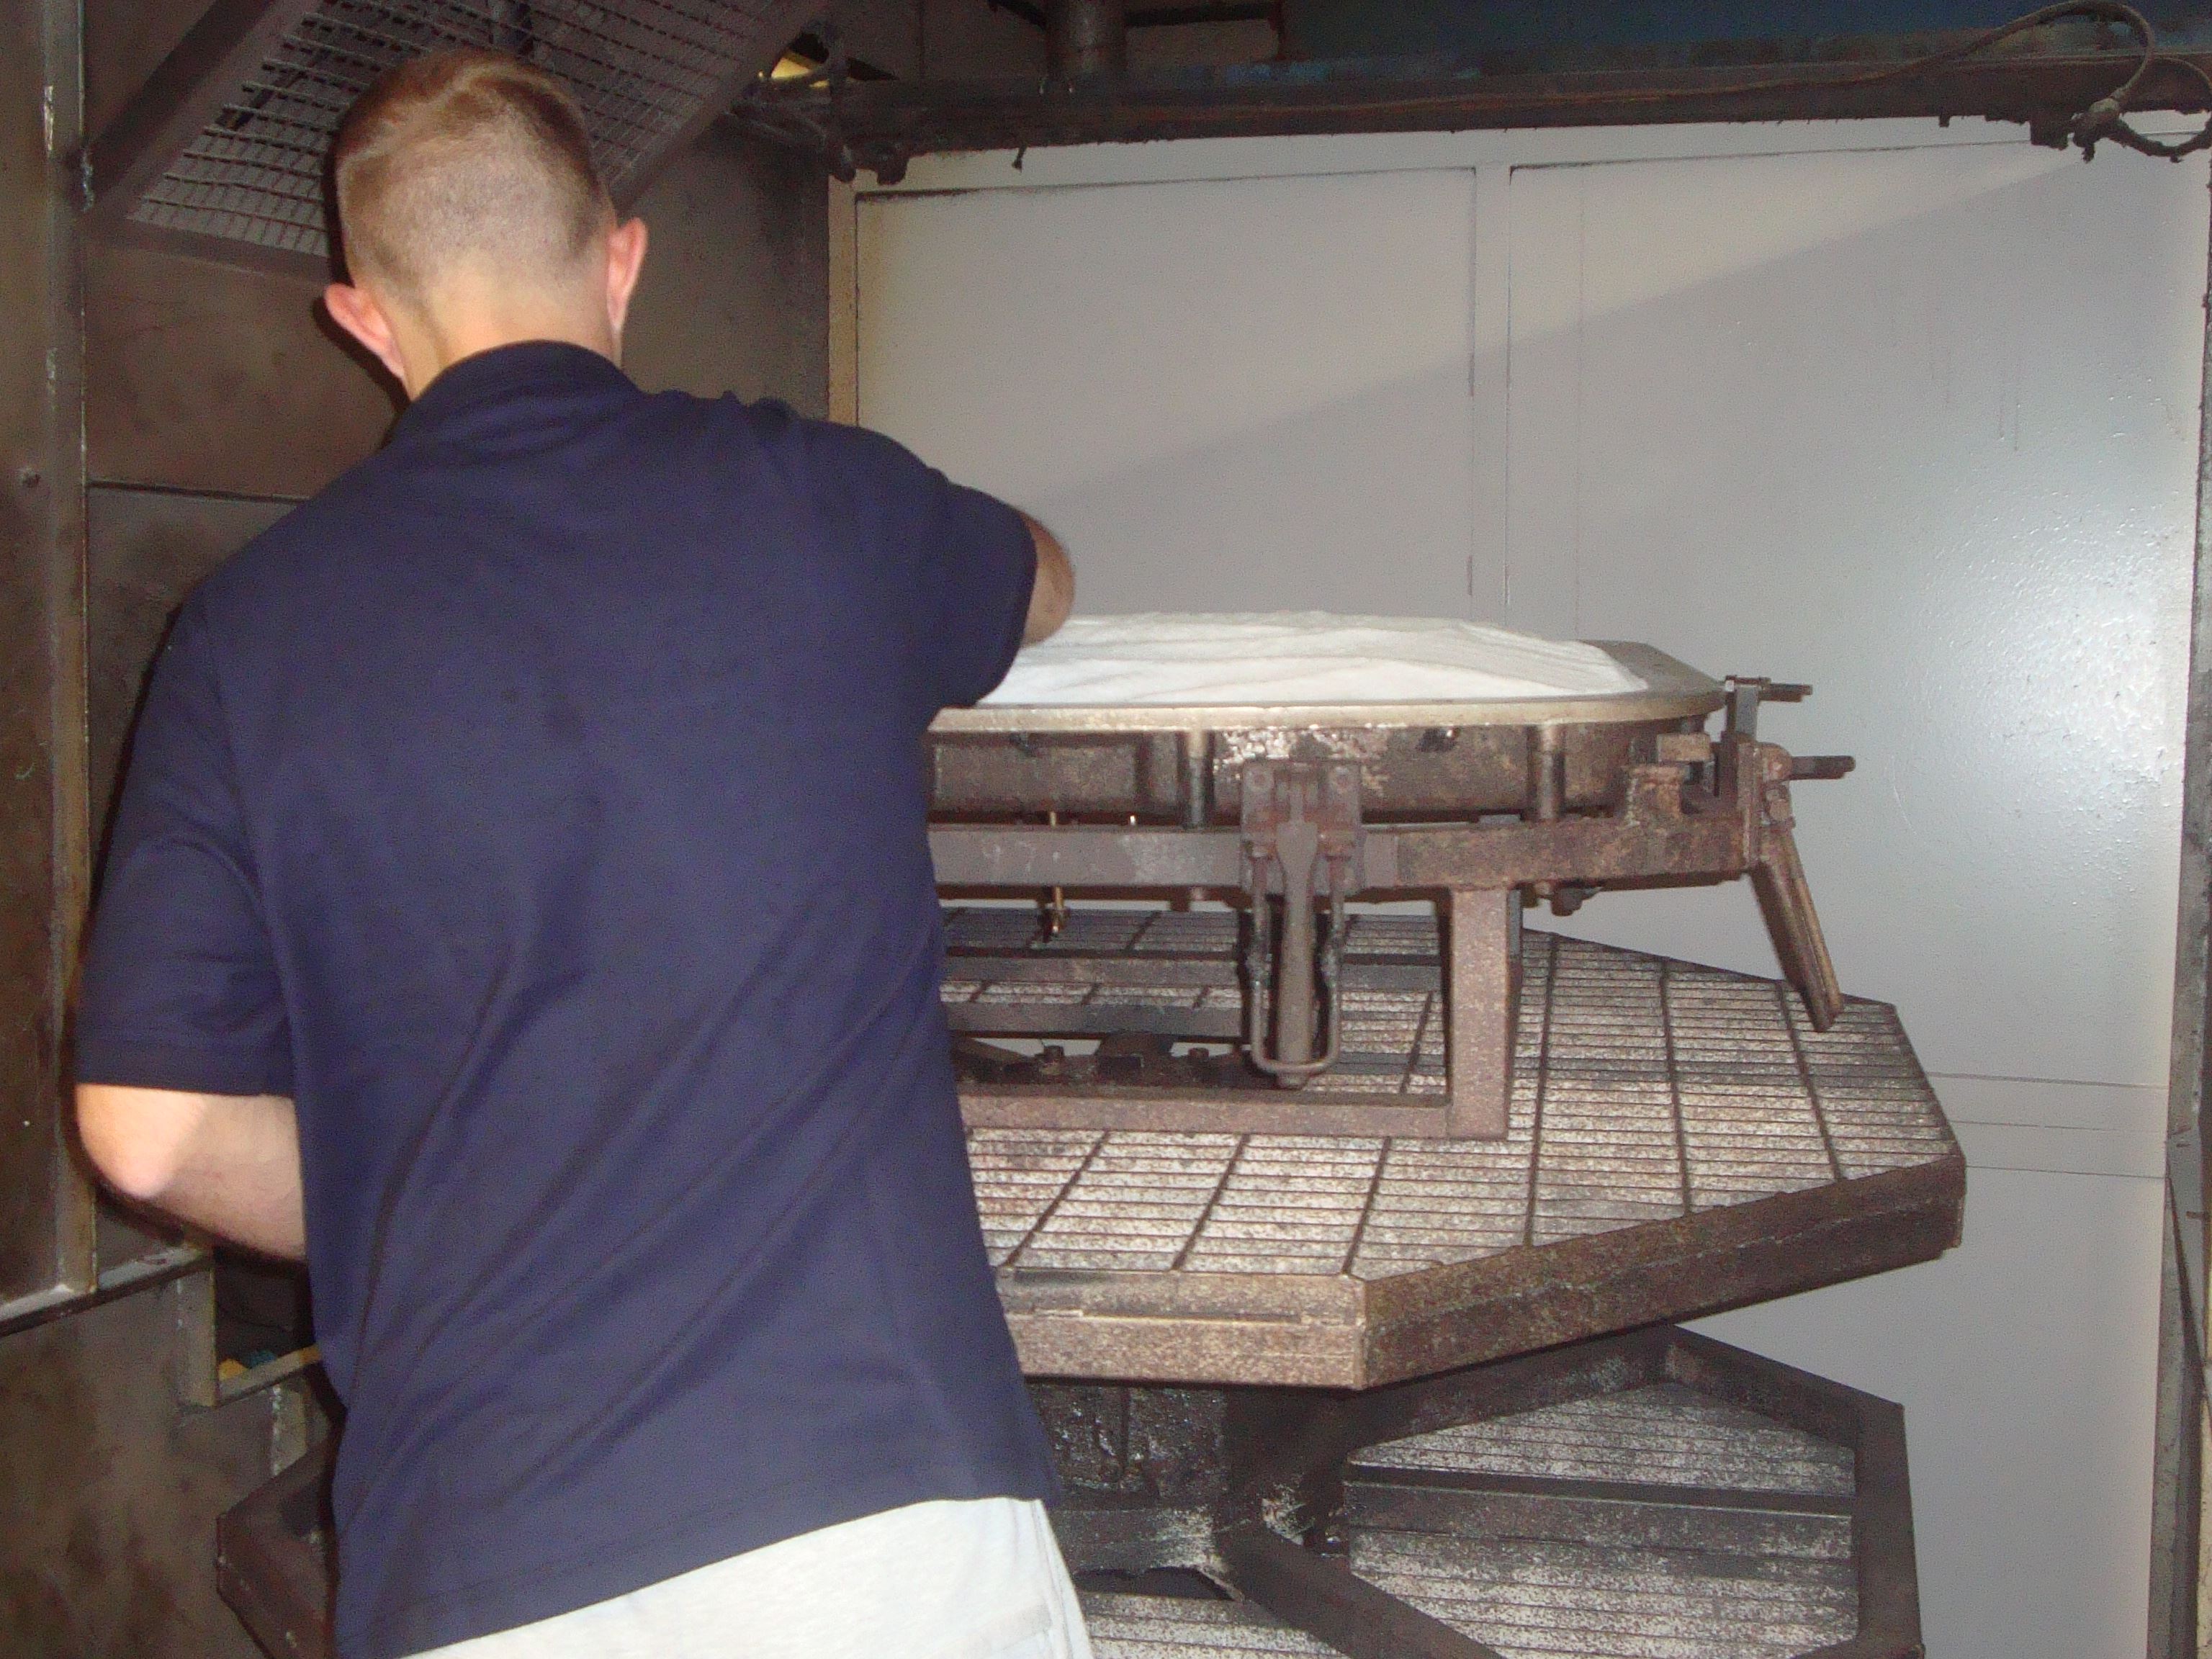
Whilst inside the oven, which at this point is at a heat of between 260C and 370C, the Baby Changer mould is rotated on two axis, to ensure an even distribution of heart. Upon first hearing about Rotomoulding, my initial impression was that the mould flew round at a great speed and used centrifugal force to ensure the polymer power stays to the sides of the mould – As I watched the mould rotate slowly, at less than 20 rotations a minute, I realised the process is by no means centrifugal. Timing whilst in the the oven is critical; too long and the item will degrade and reduce strength, but not enough time and the item will not completely melt and therefore fail to completely fill the mould.

After spending time in the oven, the mould is removed from the oven and allowed time to cool. In this case, this was simply done by air, although it is possible to complete this process quicker using water. During the cooling process, the polymer solidifies and shrinks slightly, which is why it is important the mould is a certain degree larger than the desired size of the product.
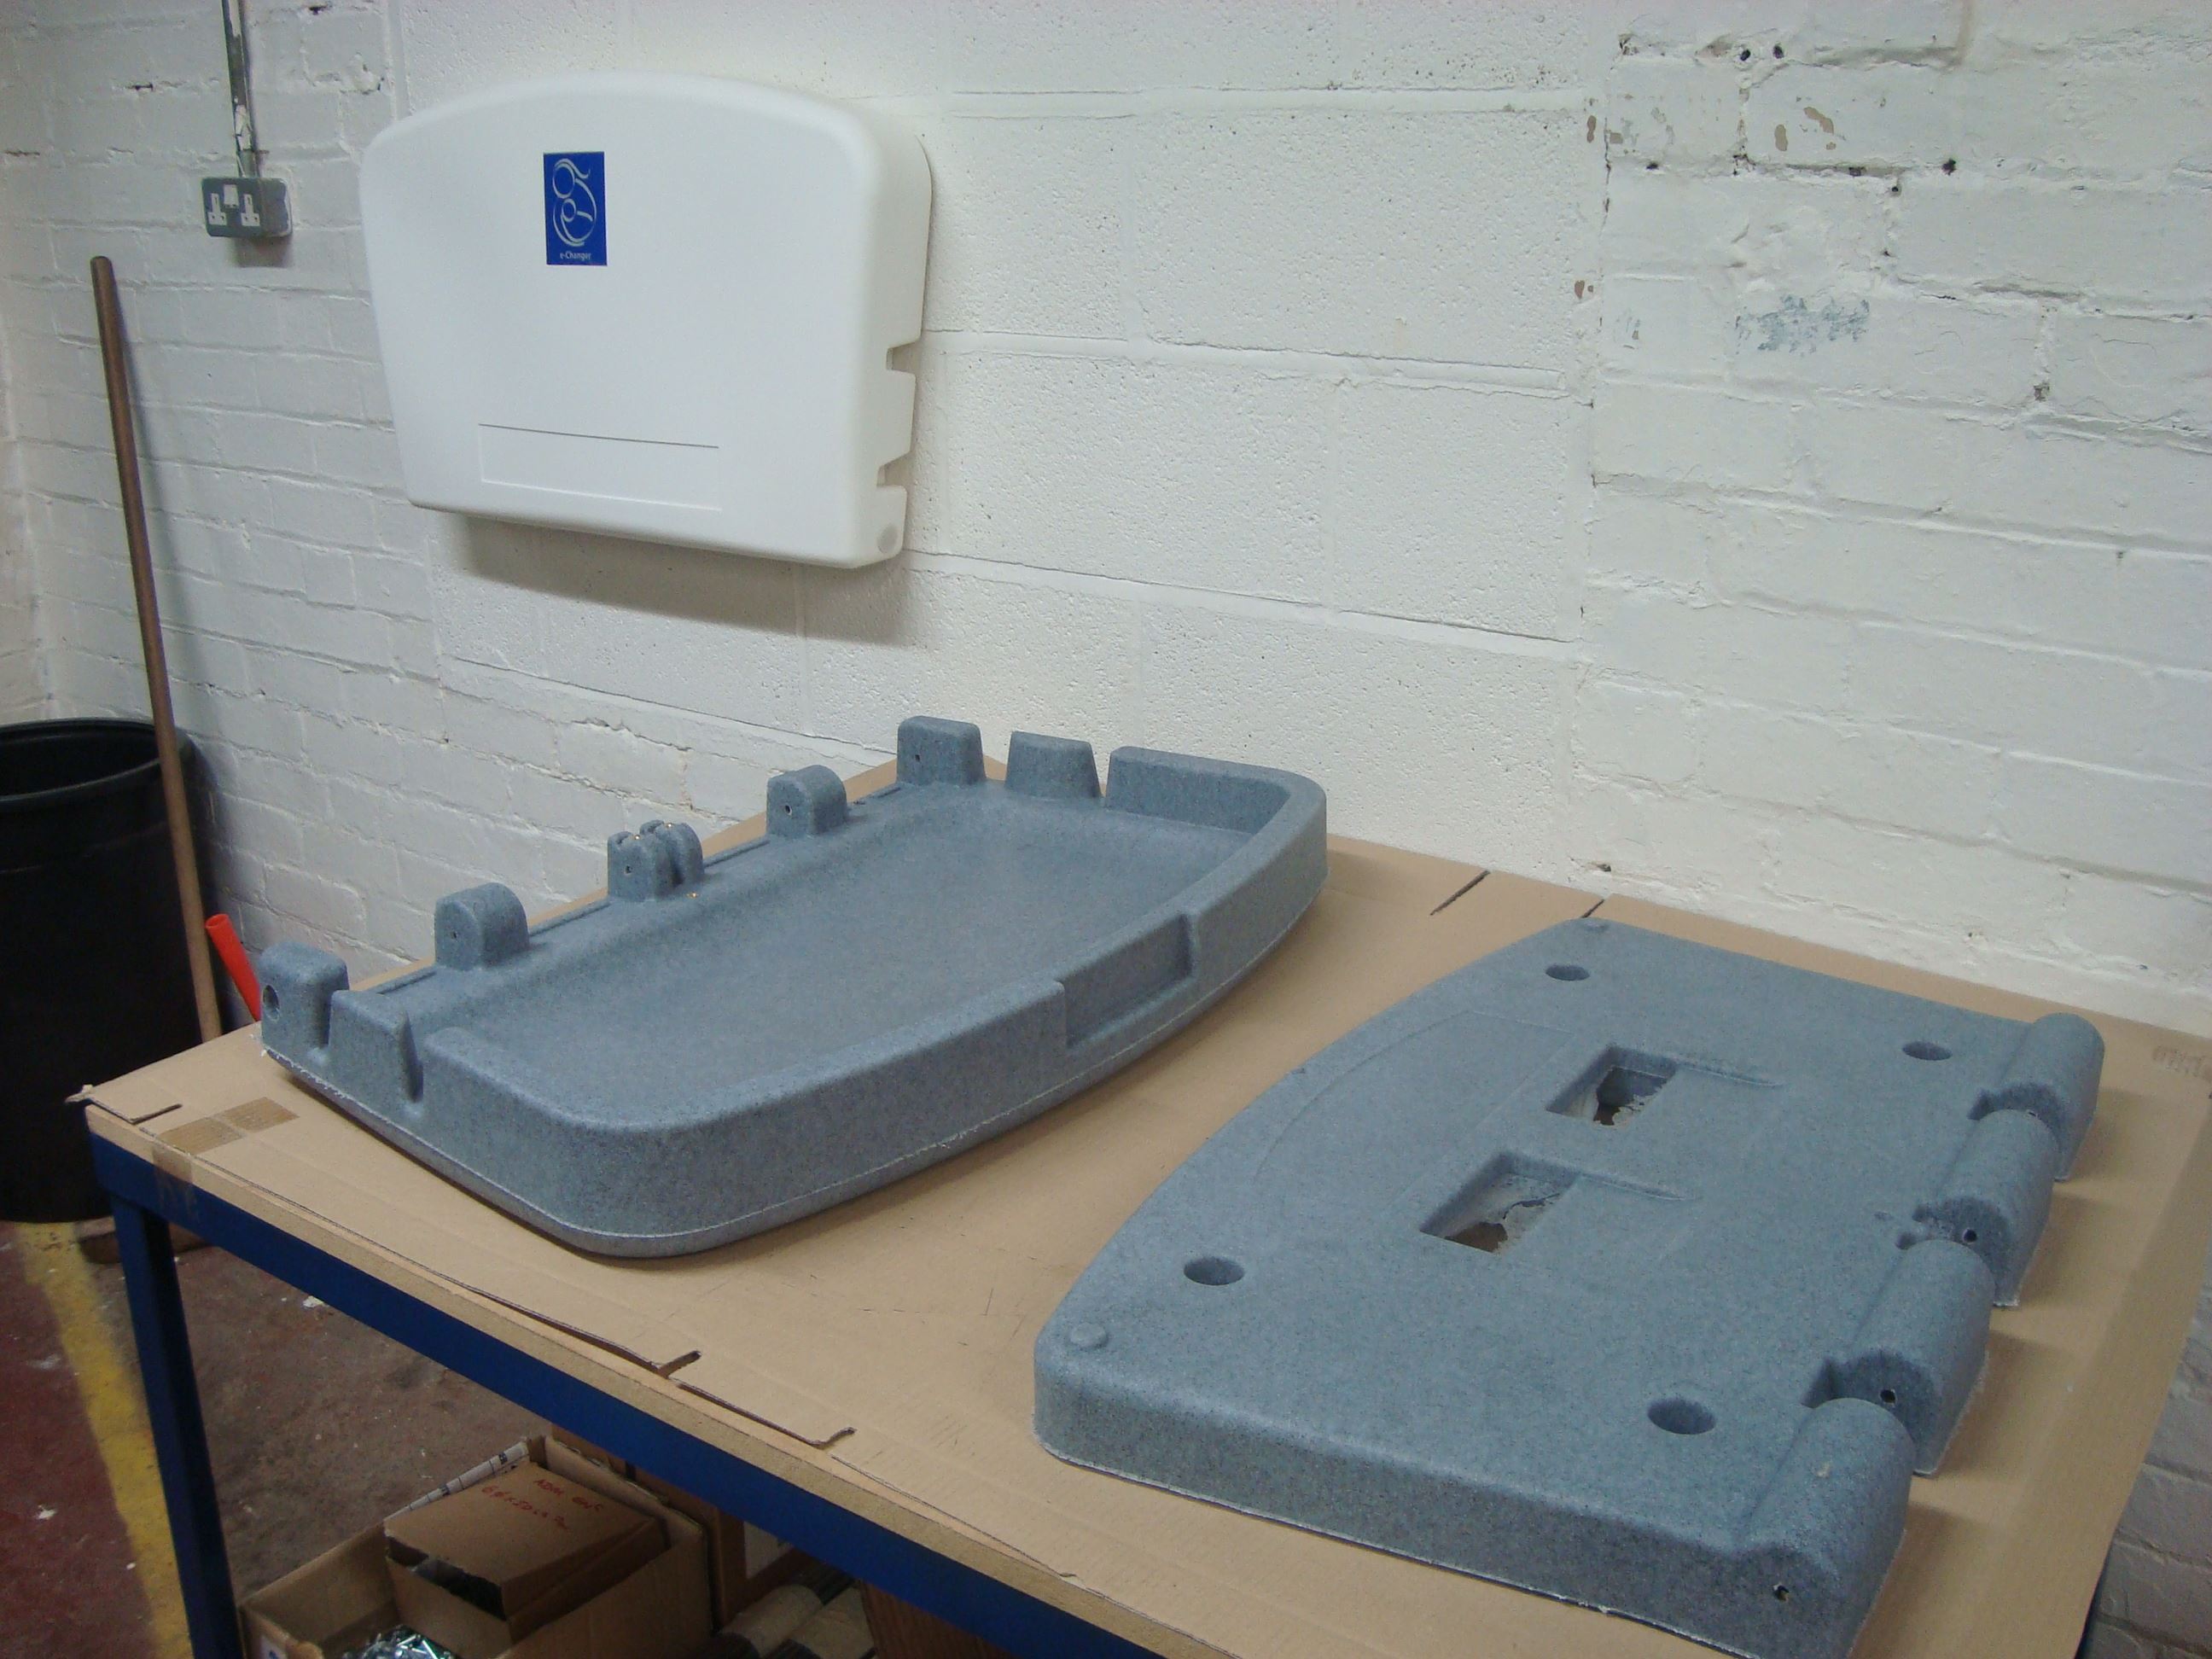
Once the mould has cooled, it was ready to be assembled, and have the final touches added to it. In the case of our Baby changer, any rough edges were precisely cut off by hand to leave a smooth finish, fit for a baby!
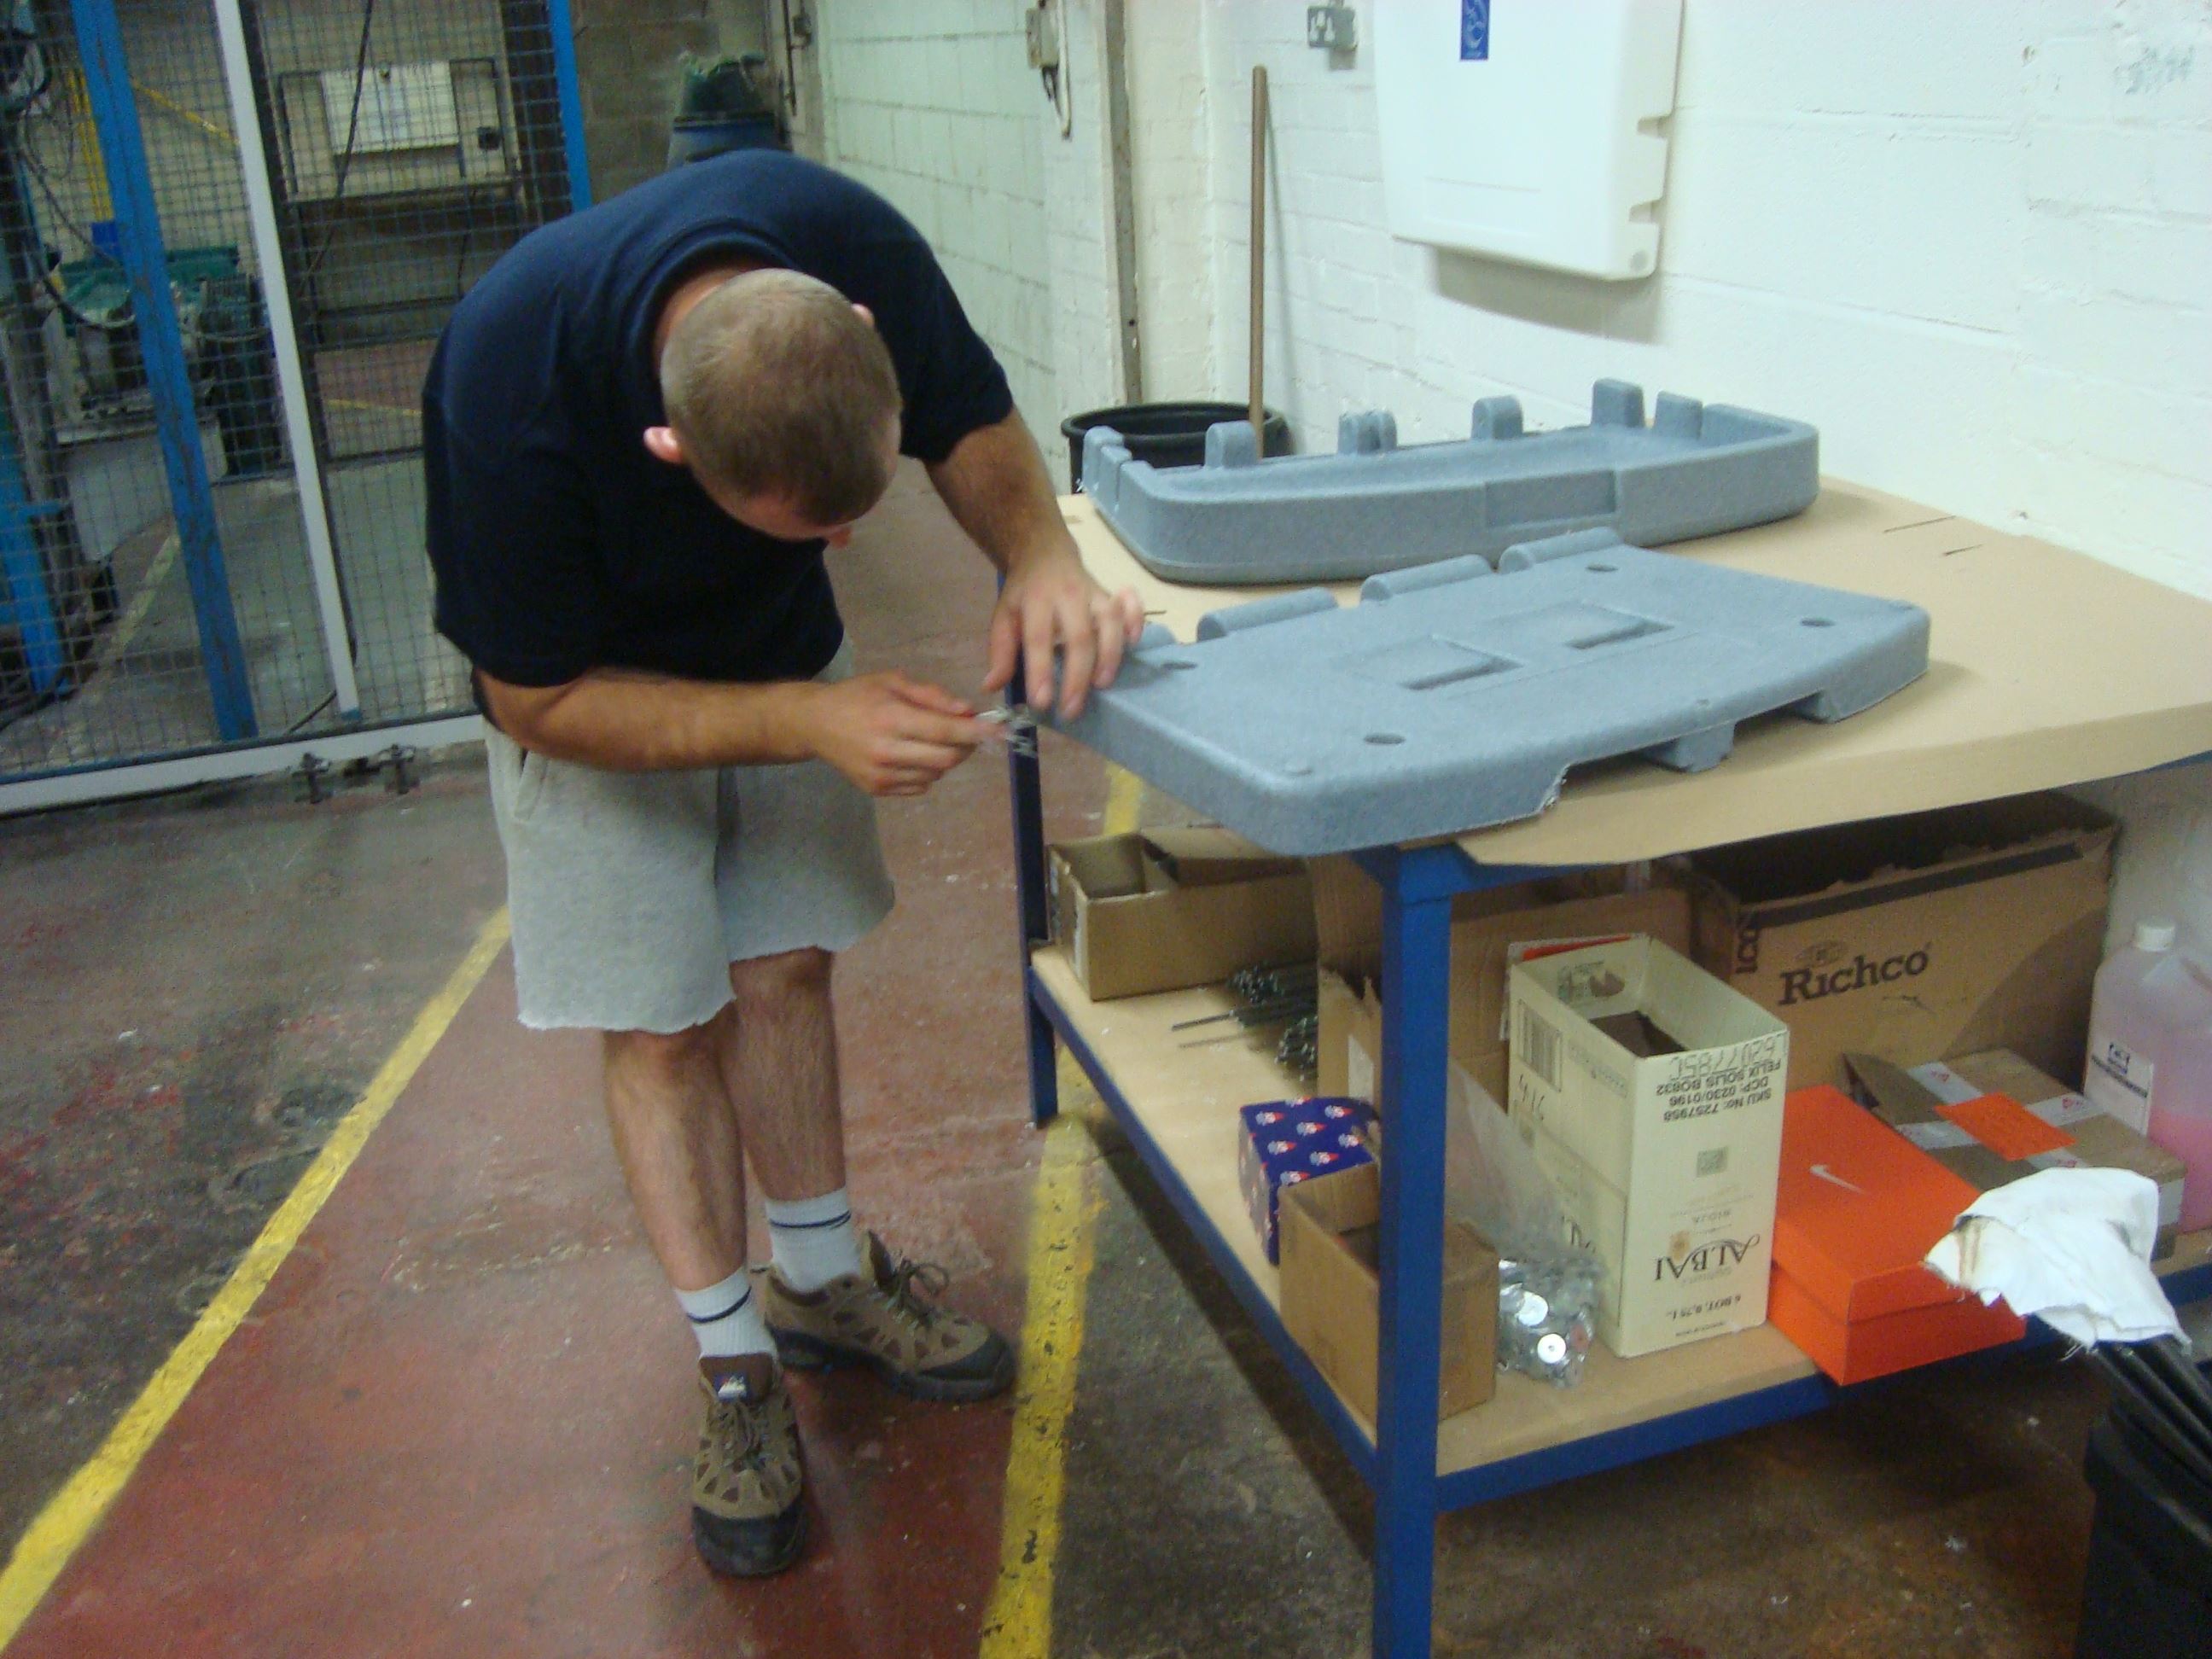
Once happy with the mould, the baby changer was then constructed on site. Designed to fit together easily and be simply to put together, this only took a matter of minutes. Attaching the two sides together, fitting a hinge through and adding the spring mechanism, attaching the safety straps and finishing it all off with a logo on the front and a quick wipe with the cloth.

The baby changer was then boxed, sealed and ready to go. In under two hours, we’d seen Direct365’s idea for a better baby changer go from bags of powder to a boxed product.
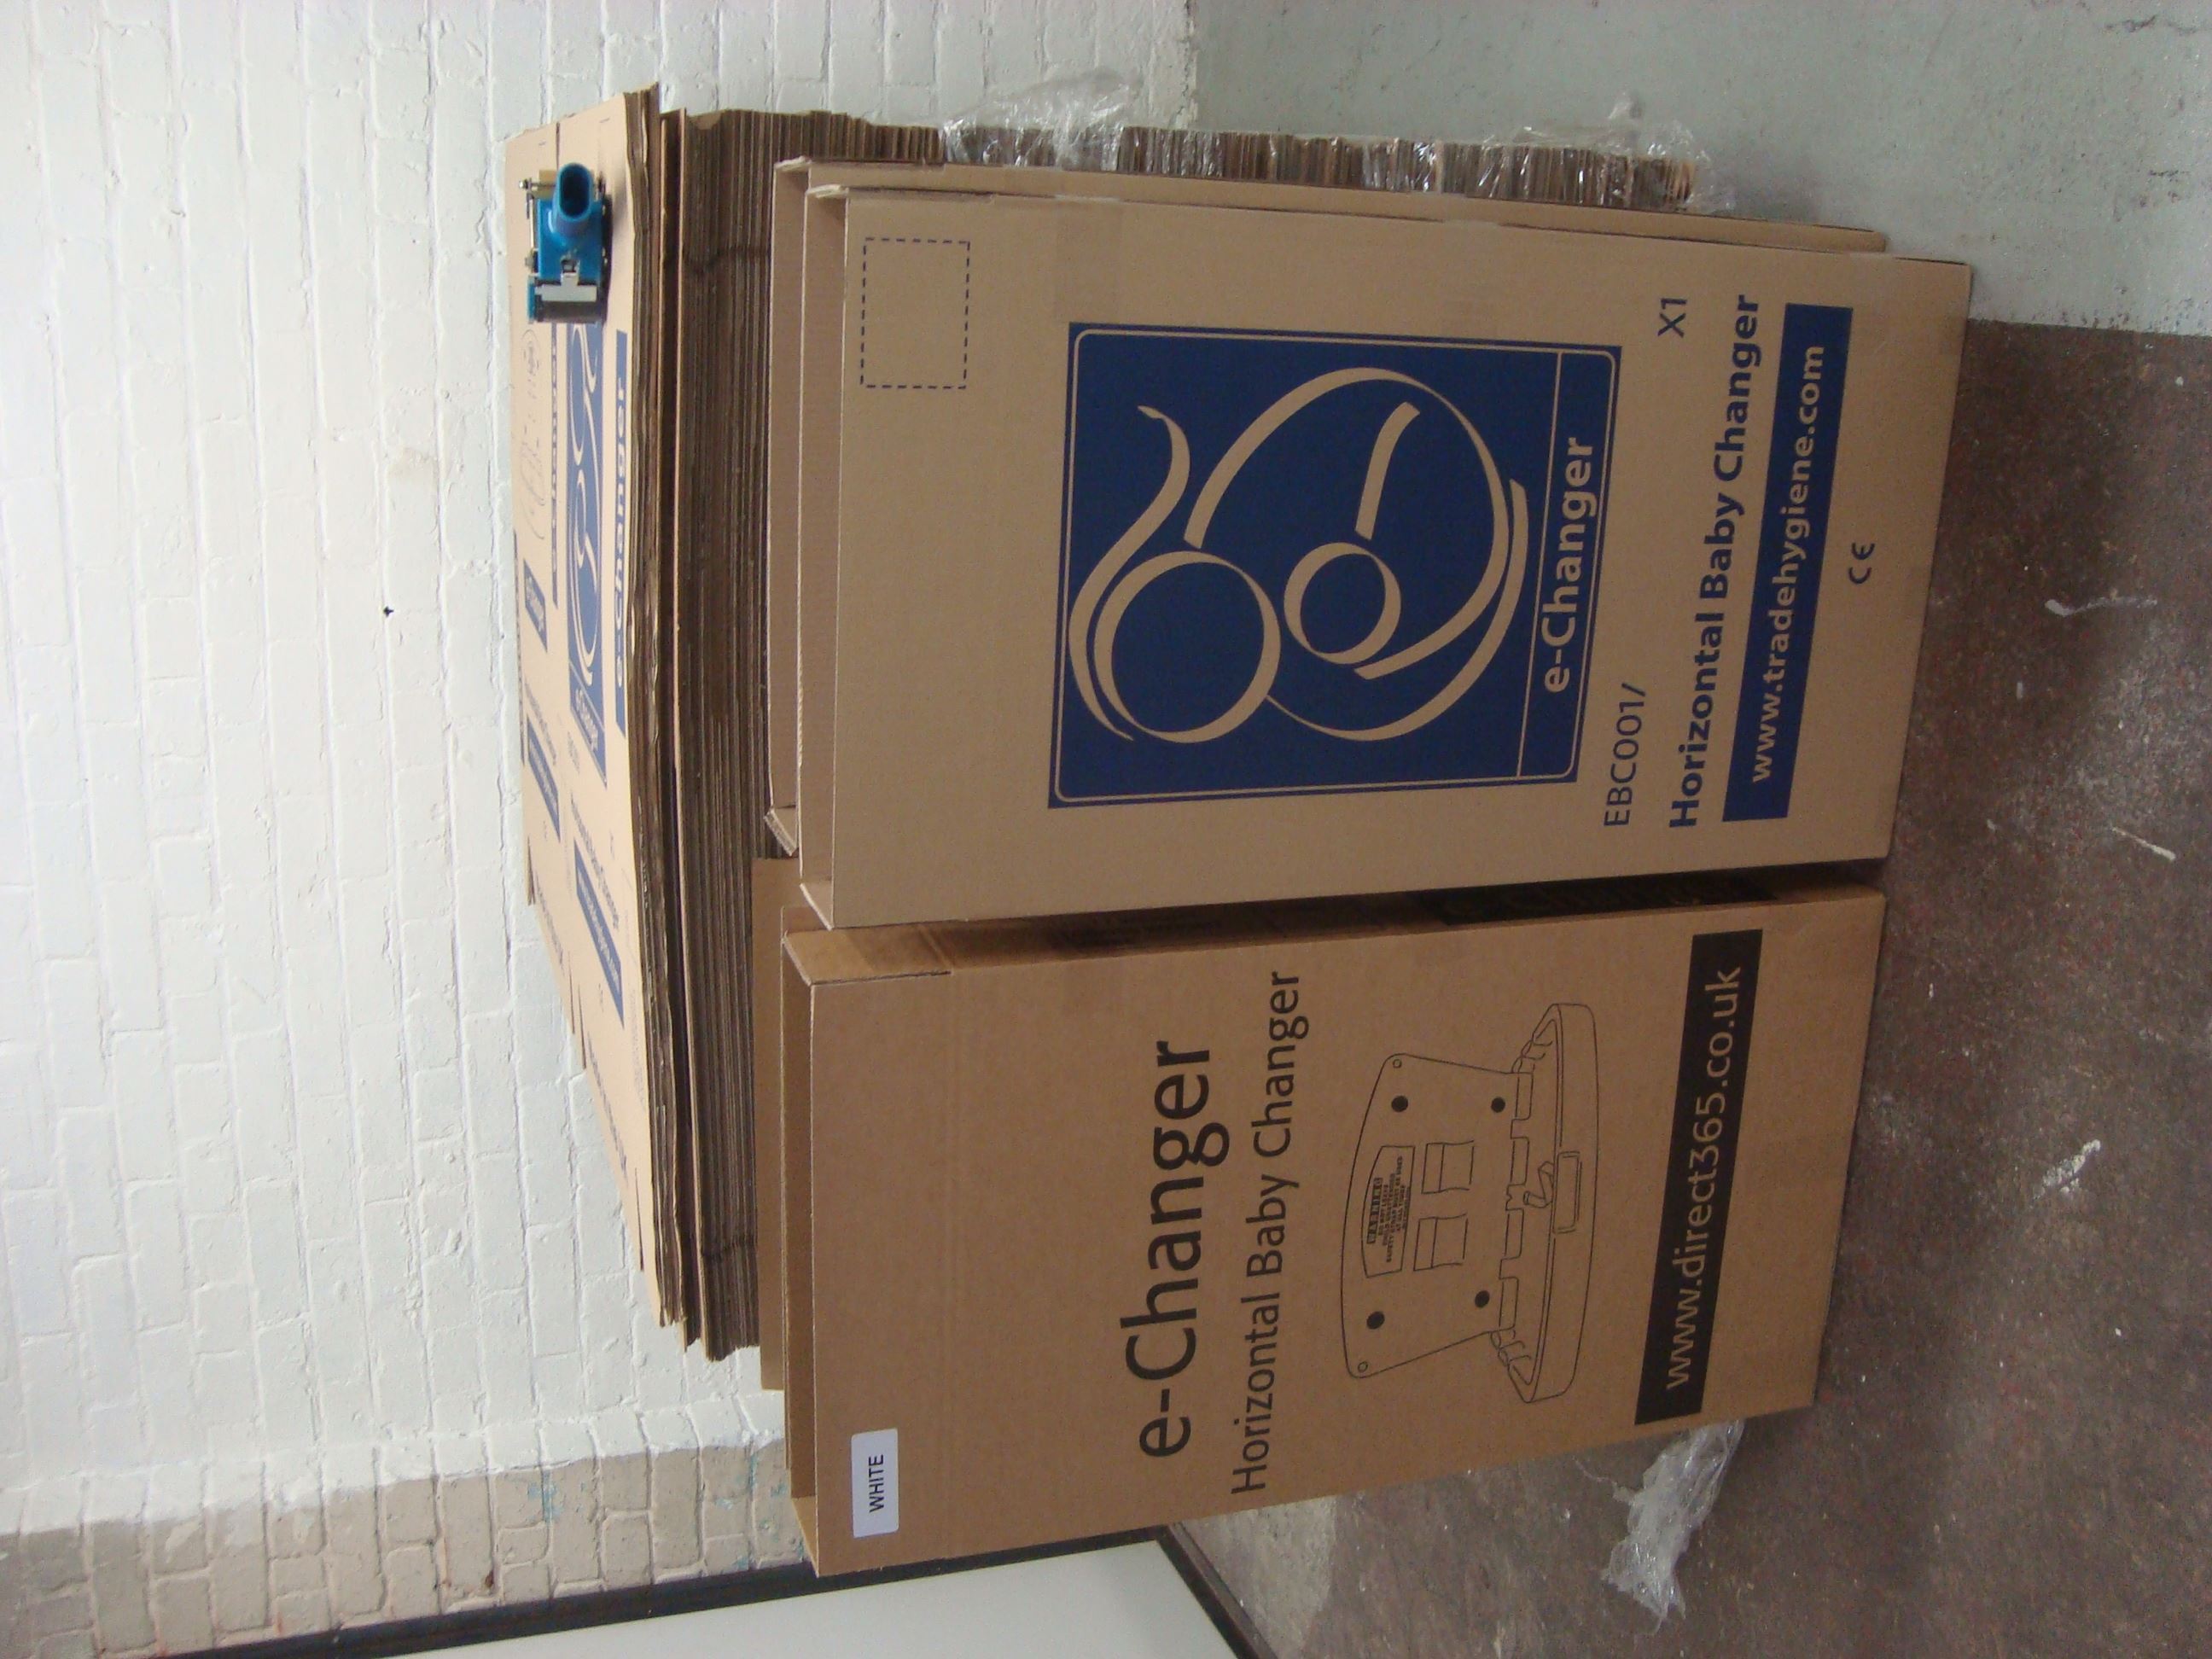
To view the finished product, or if you’re looking for a new baby changer for your premises – feel free to check out our e-Changer Plus here!
Back